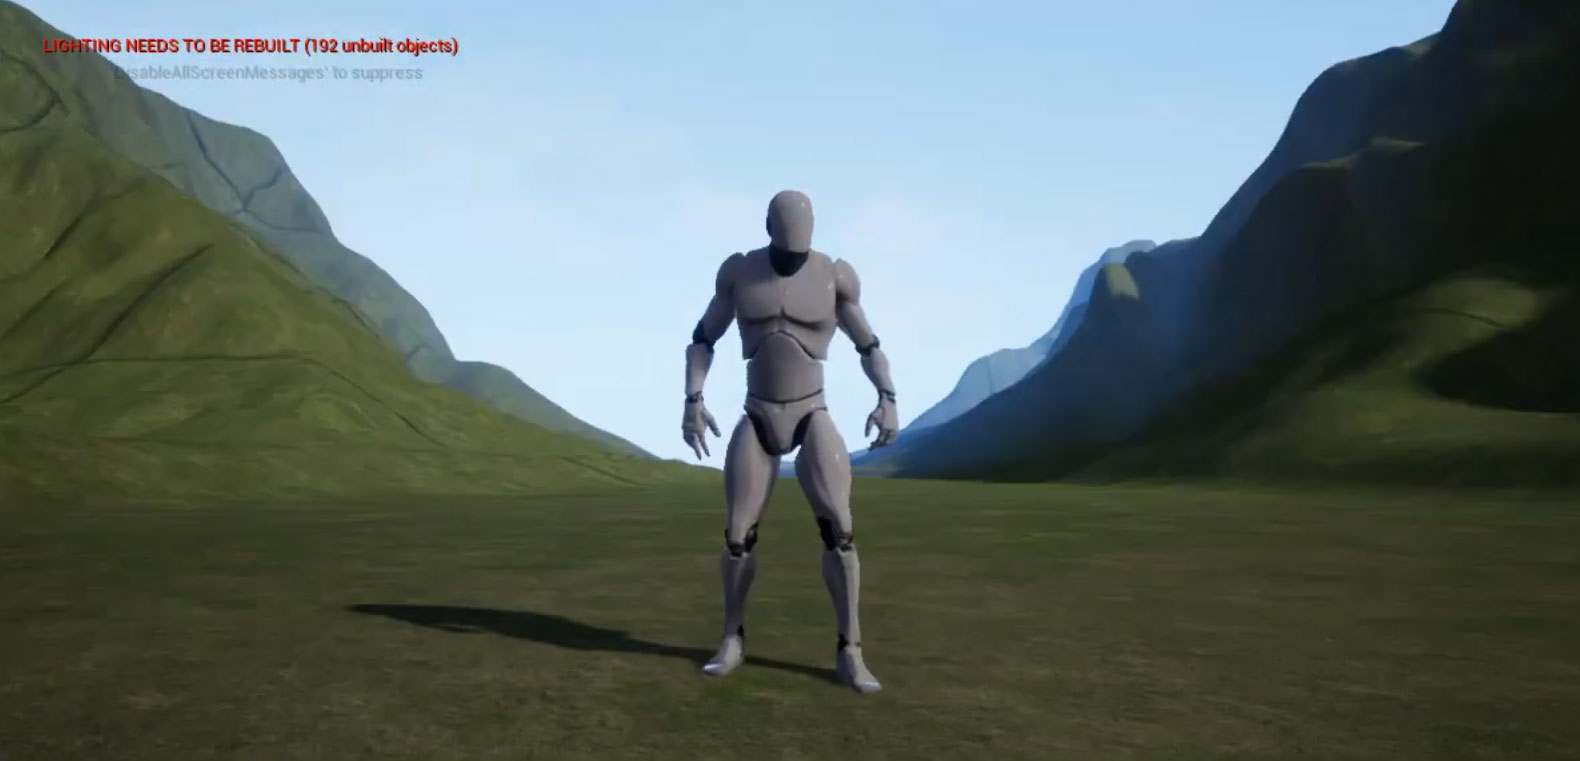
How to Create Unreal Engine Heightmap Terrain
Download Heightmaps & Textures
This tutorial shows you how to create a 3D landscape from heightmaps in Unreal-Engine-4.
Resources
Download the heightmap from this tutorial
Get Unreal Engine
Get GIMP
Step-by-Step: Build Unreal Engine Heightmap Terrain from a Heightmap
What is an Unreal Engine Heightmap Terrain — and why use it?
A heightmap is a grayscale image that encodes elevation data: darker tones represent lower points, lighter tones indicate higher terrain. When you import such a heightmap into Unreal Engine, the engine interprets these grayscale values and reconstructs a 3D terrain mesh — a fully editable Landscape.
This technique simplifies the creation of realistic terrain significantly: no need for manual sculpting from scratch. You get accurate elevation, quick setup, and a solid base for further refinement.
With Unreal Engine heightmap terrain, you can turn real-world elevation data or custom maps into fully sculptable 3D landscapes. It’s fast, flexible, and gives reliable results.
Step-by-Step: Build Unreal Engine Heightmap Terrain from a Heightmap
1. Create and export your heightmap (3D Mapper)
Use 3D Mapper to generate the terrain area you need. In the export settings, choose the Texture + Heightmap option. For best results, enable 16-bit heightmap export — this ensures high detail and smooth elevation transitions. Download the files and store them in your project folder.
2. Import the heightmap texture into Unreal Engine
Open your Unreal project and navigate to the Content Browser → Import. Select the downloaded heightmap file. Unreal Engine imports it as a grayscale texture ready for terrain creation.
3. Create and configure a new Landscape object
Switch to Landscape Mode by clicking Modes → Landscape in the editor. Under “New Landscape,” configure the terrain size, components, and resolution. Leave defaults if you’re unsure — you can adjust later.
4. Apply heightmap and adjust Z-Scale for correct terrain elevation
In the Landscape panel, locate the Heightmap section and choose Import from File. Select your imported heightmap texture.
Next, set the Z-Scale: this controls the vertical exaggeration of the terrain. For realistic terrain, a typical starting value is between 100 and 200, but it depends on the real-world elevation data.
5. Sculpt, texture and refine your terrain
Now that your basic terrain is generated, you can improve it with Unreal’s landscape tools:
- Sculpt ridges, cliffs, slopes or smooth irregularities
- Add materials (grass, rock, snow, soil)
- Use foliage tools to scatter trees, grass and plants
- Employ layering or procedural materials for realistic blending
Thanks to the initial heightmap, much of the terrain is already shaped — manual sculpting becomes optional.
6. Save, export or reuse your terrain in other projects
Once satisfied, save the level. If needed, you can export your landscape as:
- a new heightmap
- a mesh
- a tiled landscape for large environments
This makes your unreal-engine-generated terrain reusable in other 3D applications or future projects.
Tips for High-Quality Unreal Engine Heightmap Terrain
- Always use 16-bit heightmaps: they offer smoother elevation and avoid vertical banding.
- Ensure the resolution of your heightmap matches the landscape size to prevent stretching or distortion.
- If terrain appears inverted (mountains look like valleys), invert the grayscale or check import settings.
- After import, preview in orthographic view — this helps spot distortions before you sculpt or texture.

