Create Terrain from Heightmap in Unity
Download Heightmaps & Textures
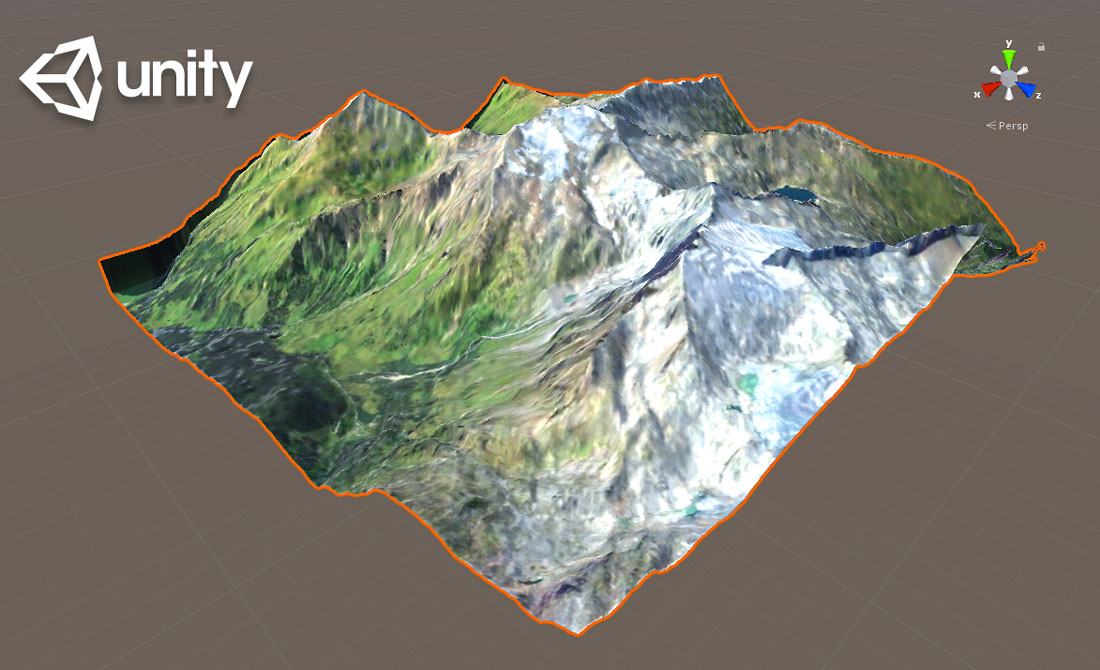
With heightmaps and textures from 3D-Mapper.com you can easily create terrains for games in Unity (game engine). Prepare the heightmap and texture with Photoshop or the free image editing software GIMP. For the following tutorial we used GIMP.
Resources:
Get heightmap + texture from tutorial
Get Unity
Get GIMP
How you use the heightmap in Unity
A heightmap is a grayscale image that represents the elevation or height of a terrain surface. Unity provides built-in support for importing heightmaps as a way to create realistic terrain surfaces. Here are the steps to use a heightmap in Unity:
- Create a 3D Map of the desired area and download the Texture and Heightmap set. Use the 16 bit option in the exporter.
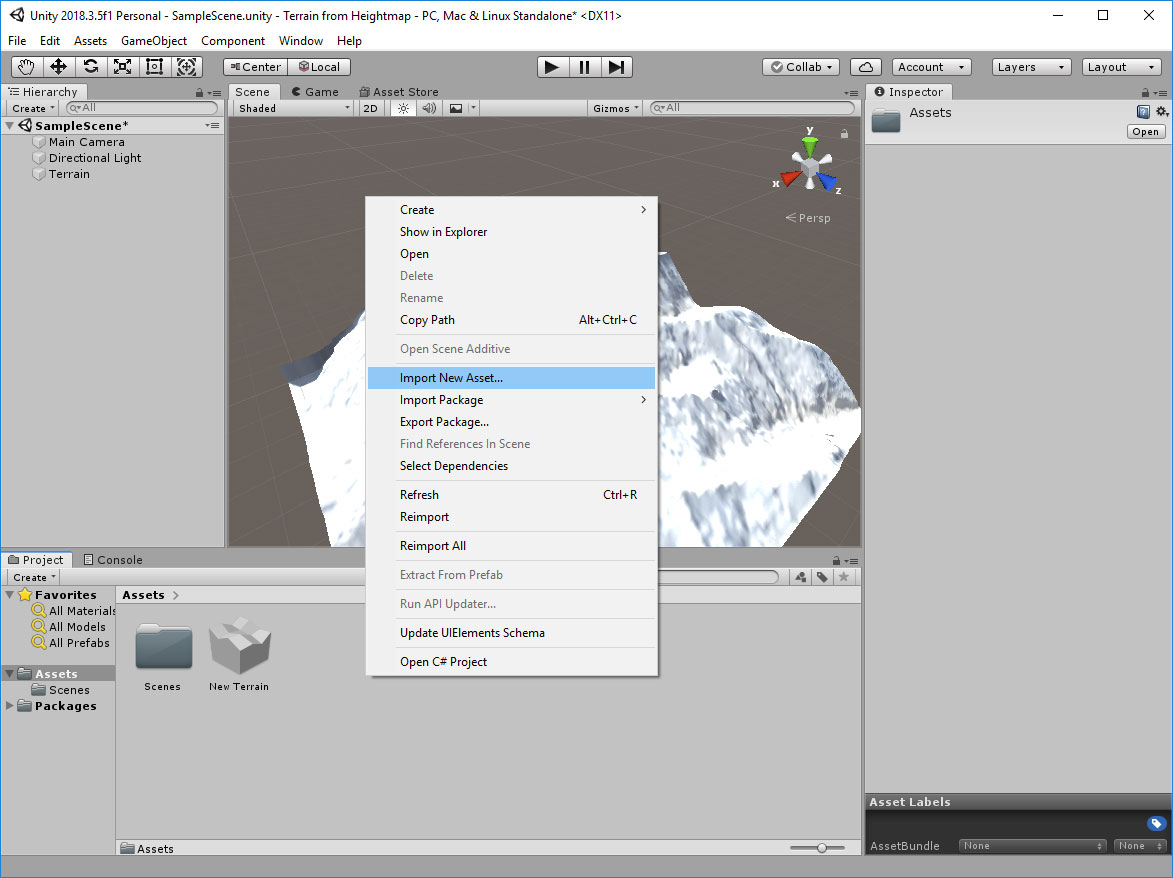
- Import the heightmap image: In Unity, select “Assets” -> “Import New Asset” from the menu, locate the heightmap image, and select it. Unity will import the image as a 2D texture.
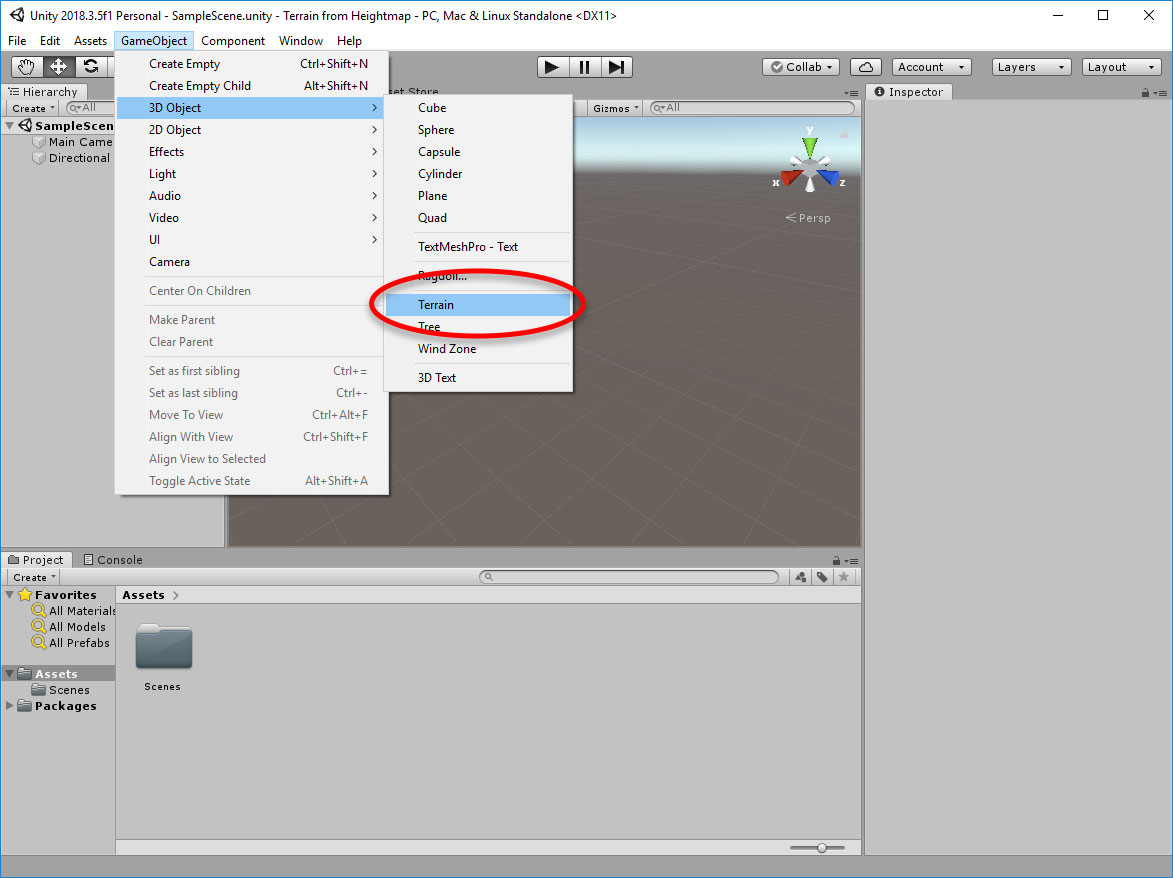
- Create a terrain object: In the Unity editor, select “GameObject” -> “3D Object” -> “Terrain” to create a new terrain object.
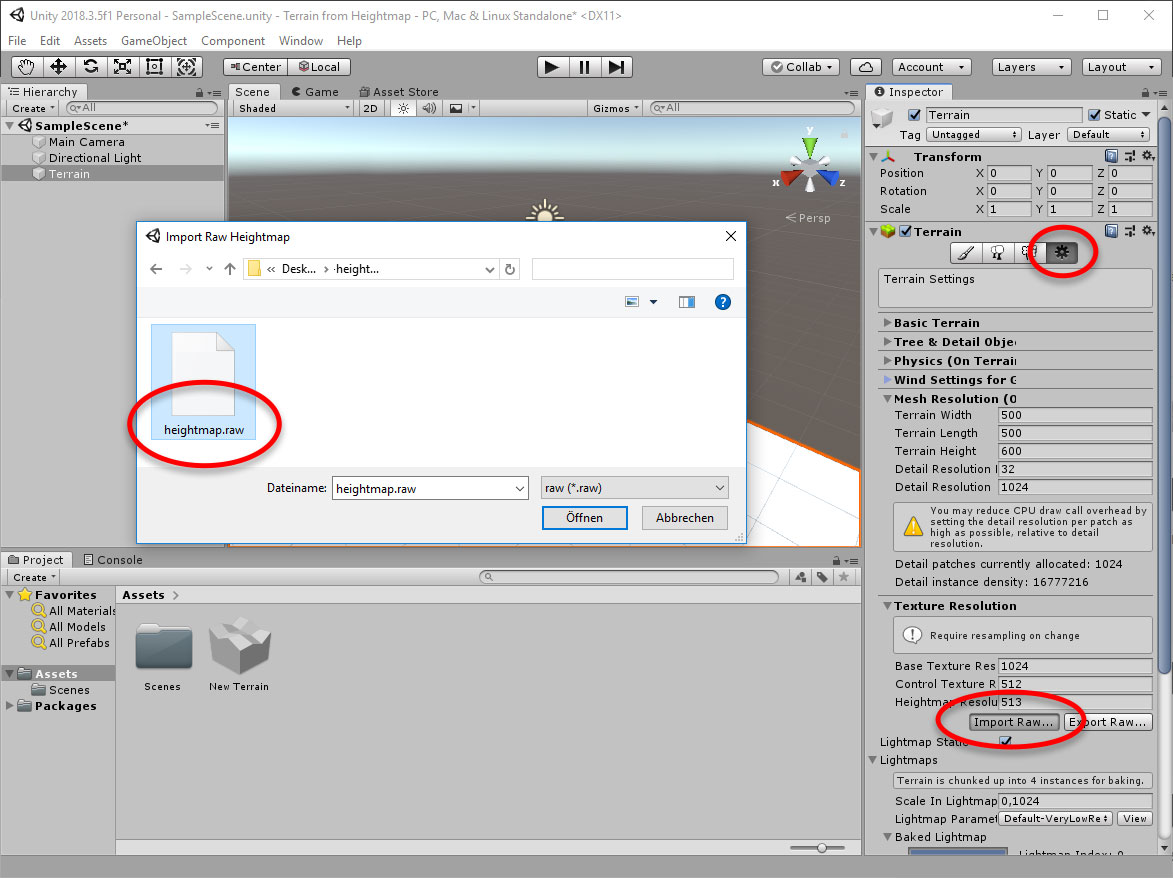
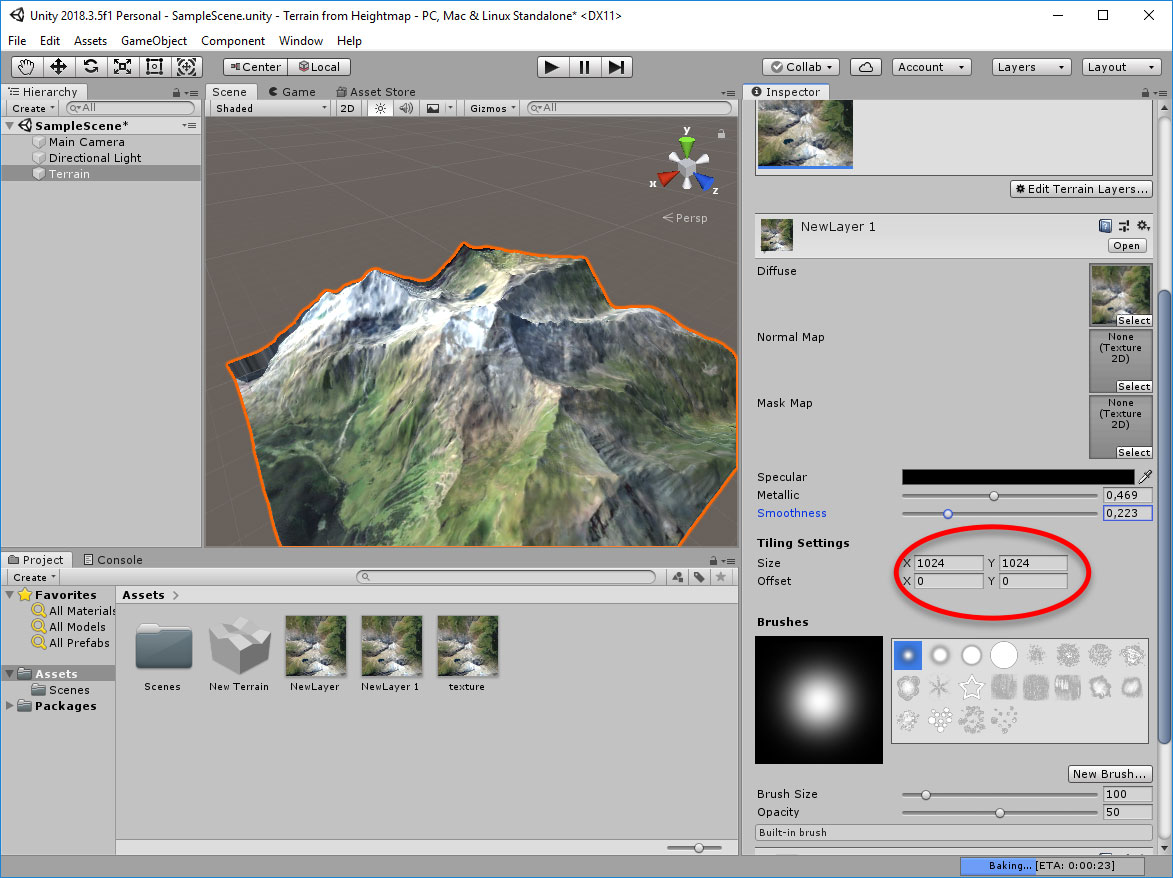
- Assign the heightmap to the terrain object: In the “Inspector” window, select the terrain object, and then select the “Paint Terrain” tab. In the “Heightmap” section, select the imported heightmap texture as the source for the terrain height data.
- Adjust the terrain settings: In the “Inspector” window, you can adjust various settings for the terrain, such as the resolution, size, and height scale. You can also use the “Terrain” tab to sculpt the terrain manually or apply textures and vegetation to it.
- Save and use the terrain: Once you’re happy with the terrain, save the scene and use it in your game or project. You can also export the terrain as a heightmap or mesh if you need to use it in other software.
That’s it! Using a heightmap can be a quick and easy way to create a realistic terrain surface in Unity.

